Have you ever wondered about installing a floating floor panel in your house? There are various ways in which you can install hardwood flooring. Floating floors are fastened to themselves, but these are not attached to the subsurface. These floors have a bubble like cracking feel to them, but a softer feel to the floor. One of the main benefits of the floating floors is that these are easy to maintain and one of the cheapest types of hardwood floors to install. If you want to install a floating hardwood floor, you can use oak which is not just beautiful but is also durable.
Tools Needed to Fit a Floating Floor
Dust Pan and Broom: It is important to keep things clean. Keep the sawdust out from your panels where it may really throw things off the balance. If it gets in, you cannot get it out in any way other than the tough process of disassembling the hardwood floor.
Carpenter’s Crayon: Cut the panels to make sure that they fit in the corners and make them get around objects which cannot be removed from the room that has the floating floor installed. The crayon can be used to mark a certain layout about where the flooring panels need to be placed.
Circular Saw: This can be used to cut along the lines that you have marked with the help of the carpenter’s crayon.
Claw Hammer: Mostly, rubber mallets are used to push together the boards, but the claw hammer is useful for the places near the walls where there is no enough room for swinging the mallet.
Cushioning: The floating floor can be made to feel softer if you use cushioning surface underneath. The difference between a cushioned floor and a non-cushioned one is amazing.
Cutter Knife: The cutter knife is a handy tool because it is helpful in more places than you would imagine. However, the main reason that this tool is suggested here is that it allows you to make slight cuts on the end of the panels when you cannot attach them together.
Glue: A floating hardwood floor is not expected to be pasted together. However, you can just get better results if you add some glue at the end of every panel while connecting them. This means that you should be very careful not to get the glue on the surface of your floor.
Nails: These will be needed to nail the floating floor to the strips of the wall. You can use a drill to make holes and prevent the wood from splitting. However, you can even hammer the nails without the pilot holes.
Rubber Mallet: This helps to fit the panels near the links. Make sure that you do not hit them hard, as that will damage the panel surface.
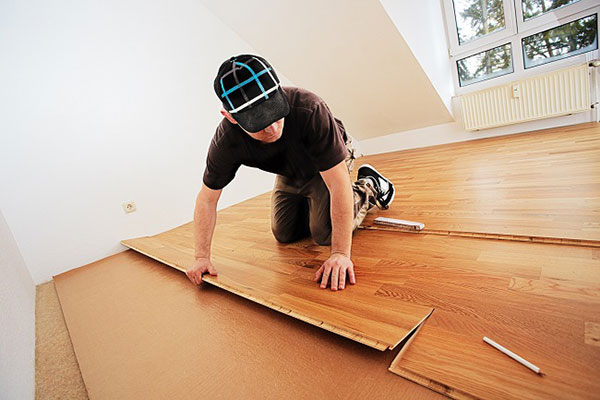
Before installing the hardwood floor floating panels, you need to install the cushioning sheets. For a few, making the panels into smaller pieces is better than fitting a large piece in a single room. The pieces should be placed in the same direction like the panel rows. One of the advantages of using cushioning sheets is that the debris on the sheet or surface lumps below creates a less dramatic effect on the floating floor. However, you need to get these worked out and straightened out as much as you can see.

Remove the debris using your broom and pan. This is not an uphill task at all, especially when you consider the fact that the consequences are almost permanent if the panels cannot be removed. Install floating floors today from a reliable company.
This blog help you to learn everything about floating floors. Keep in touch to know more information about floating floors.